Search This Blog

Friday, July 15, 2022

Zed fold (Z fold ) Diamond card

 Cricut or hand cut.   5 X 7 pop up card.


The cricut link is just the base of the card and panels, that makes it free to cut. You can add your own designs..


 The cricut pattern is done in greys, you can pick your own colors and patterns to match what you want to do.. you’ll need the score tool, fine point blade, glue, (I use Artglitter.com) glue and card stock. I used 8.5 x 11 card-stock two patterned, two solid colors, and a scrap of white to make the card…the rest will depend on how you design it…

….to cut by hand …

Main card (light grey) ... 10” x 7” ….score in half at 5 inches and the left side in half again at 2.5”.

(The squares will all be turned to be diamonds if you want to center patterned paper).   

Color 1 (dark grey) 2  -  (2 1/2” x 2 1/2”) (2.50”) and 1 - (3” x 3”) and for greeting a piece  3” x 1 1/4”  or size of choice.

Color 2 (med grey) 2  - (2 1/4” x 2 1/4”) (2.25”) and 1 (2 5/8”) (2.6”) 

Color 3 (grey) inside panels and pop up piece.  2 - (2 1/4” x 6 3/4”) (2.24 x 6.75)  and 1 - (4 3/4” x 6.3/4”) (4.75 x 6.75)  and pop up piece is (4 1/4” x 2”) (4.25 x 2) then score at each inch, with a 1/4” left over to glue together.

White scrap piece for greeting… 2 3/4”x 1”


Put together.  

1. Fold main card at the two score lines, in a ‘Z’ shape. Fold at the middle, like a normal card, then fold the top piece back on itself.  


2.  Attach the 3 large panels to the card base  (I glue, but double sided tape will work).  


3. Fold all 4 the folds on the pop up piece and glue it into a box using the tab. 


4. Mat the 3 diamonds and the greeting pieces by gluing the small pieces inside the larger.


5. Mark the center of the card, on the center fold and mark the center of the pop up box…  glue the pop up box in, gluing two sides up against each side of the card…quickly close the card and open it several times, before the glue sets,  to insure it opens and closes evenly.  


6. If you hand cut you’ll need to snip off one corner to make the big Diamond fit inside the card when closed…it’s just a tiny snip… then glue that Diamond onto the pop up piece flush up against the fold of the card.  Check to see it closes properly...  corner should not hang over the edge of the closed card…might check after you snip, but before you glue.


7. Glue the two diamonds onto the front fold…glue just the left side of the card, even with the top and exactly centered over the fold.  Repeat with the bottom Diamond, it will be even with the bottom, and just slightly over lapping the other Diamond.  


8. Add a greeting to the white piece, glue to the mat…decorate the card as desired and place the greeting over the Diamond overlap, or anywhere you wish.
The card will close flat to fit in a 5 x 7 envelope and then stands to show off all three diamonds..


Tuesday, June 14, 2022

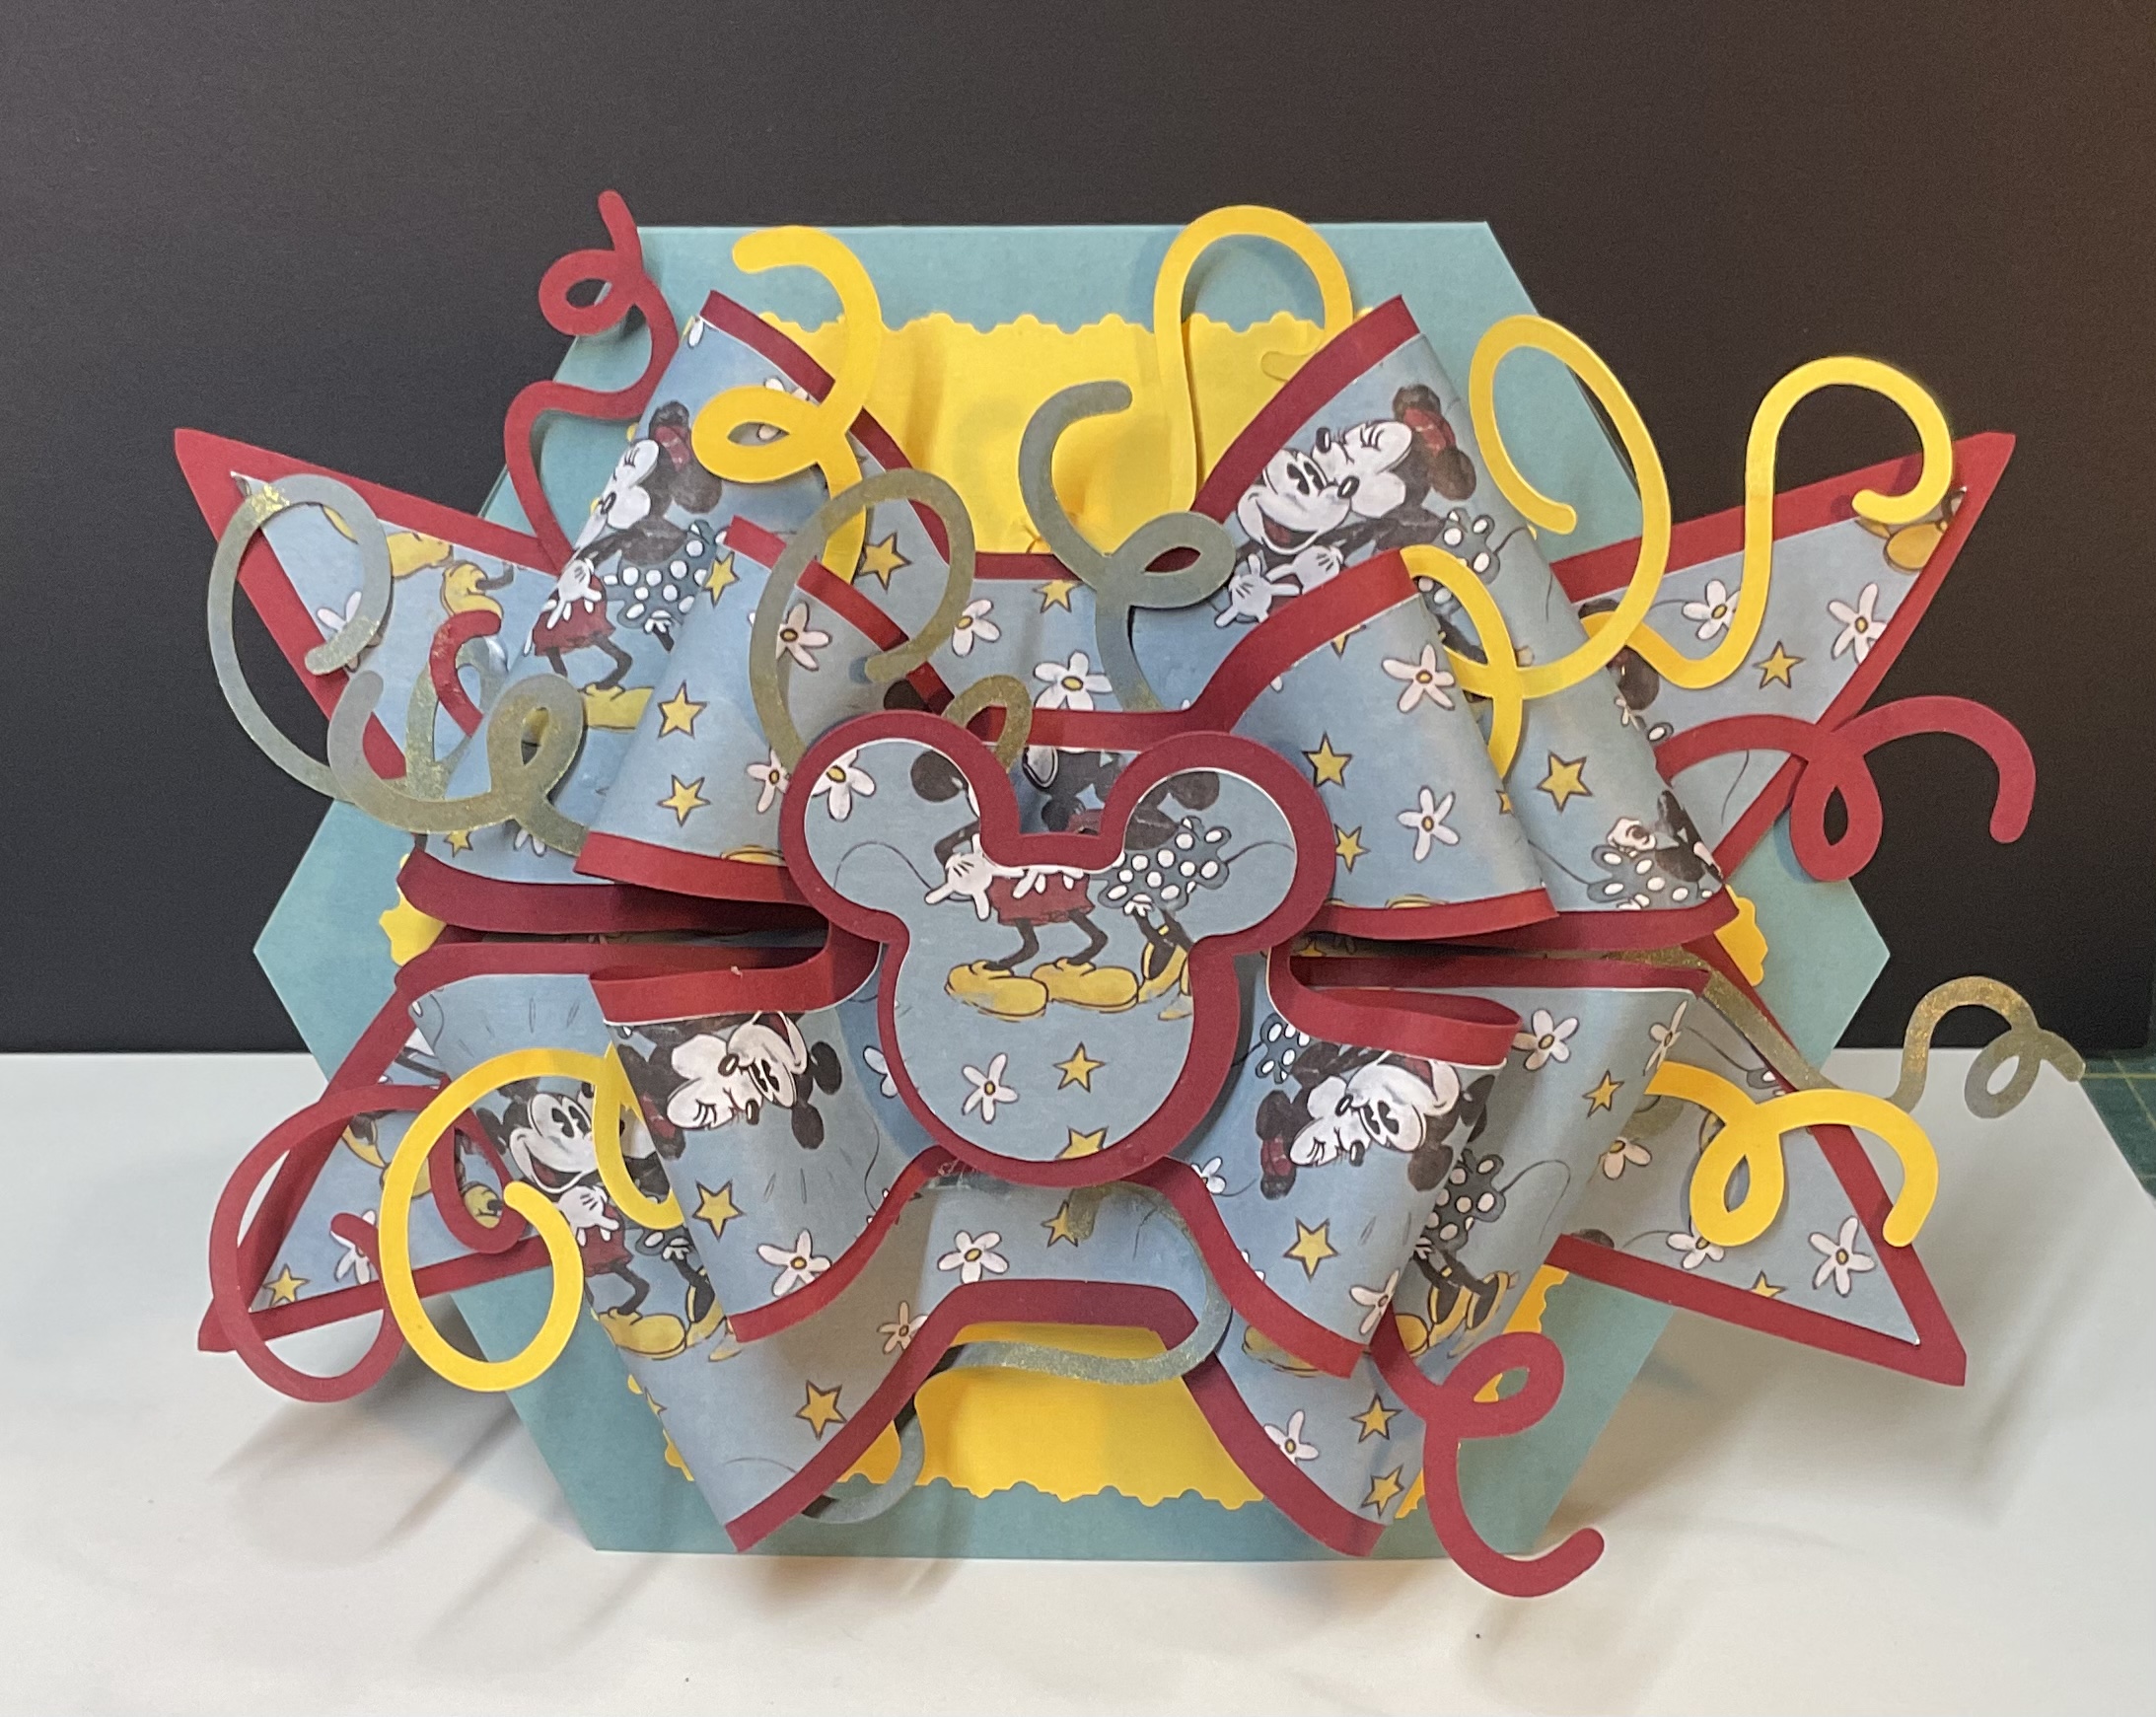
Crafters companion bow

 This bow is so pretty but was too big for my taste. I uploaded it in to design space and reduced it a bit..

I’ll add instructions on uploading a template into Design Space.. ASAP.


Monday, June 13, 2022

Crafter’s Companion Memories Book

 I wasn’t happy with the way the mini book came out following the instructions…so I messed around and came up with this…here’s my version…it’s exactly the same size as the orig

Here’s how the normal version looks…


How I did it…

1. Cut six tabs using the die cut as normal…

 I did three purple and three black, hoping it would be easier to see…in hindsight, the black wasn’t a good choice..


2. Fold all the score lines to make the tabs, Glue the pieces together where the X’s are as normal..


3. Cut both sides of the tabs (glue area, not folded piece) in half…I drew a line on one to show where, but I didn’t bother to measure any of the others. I just eyeballed it and cut by hand..


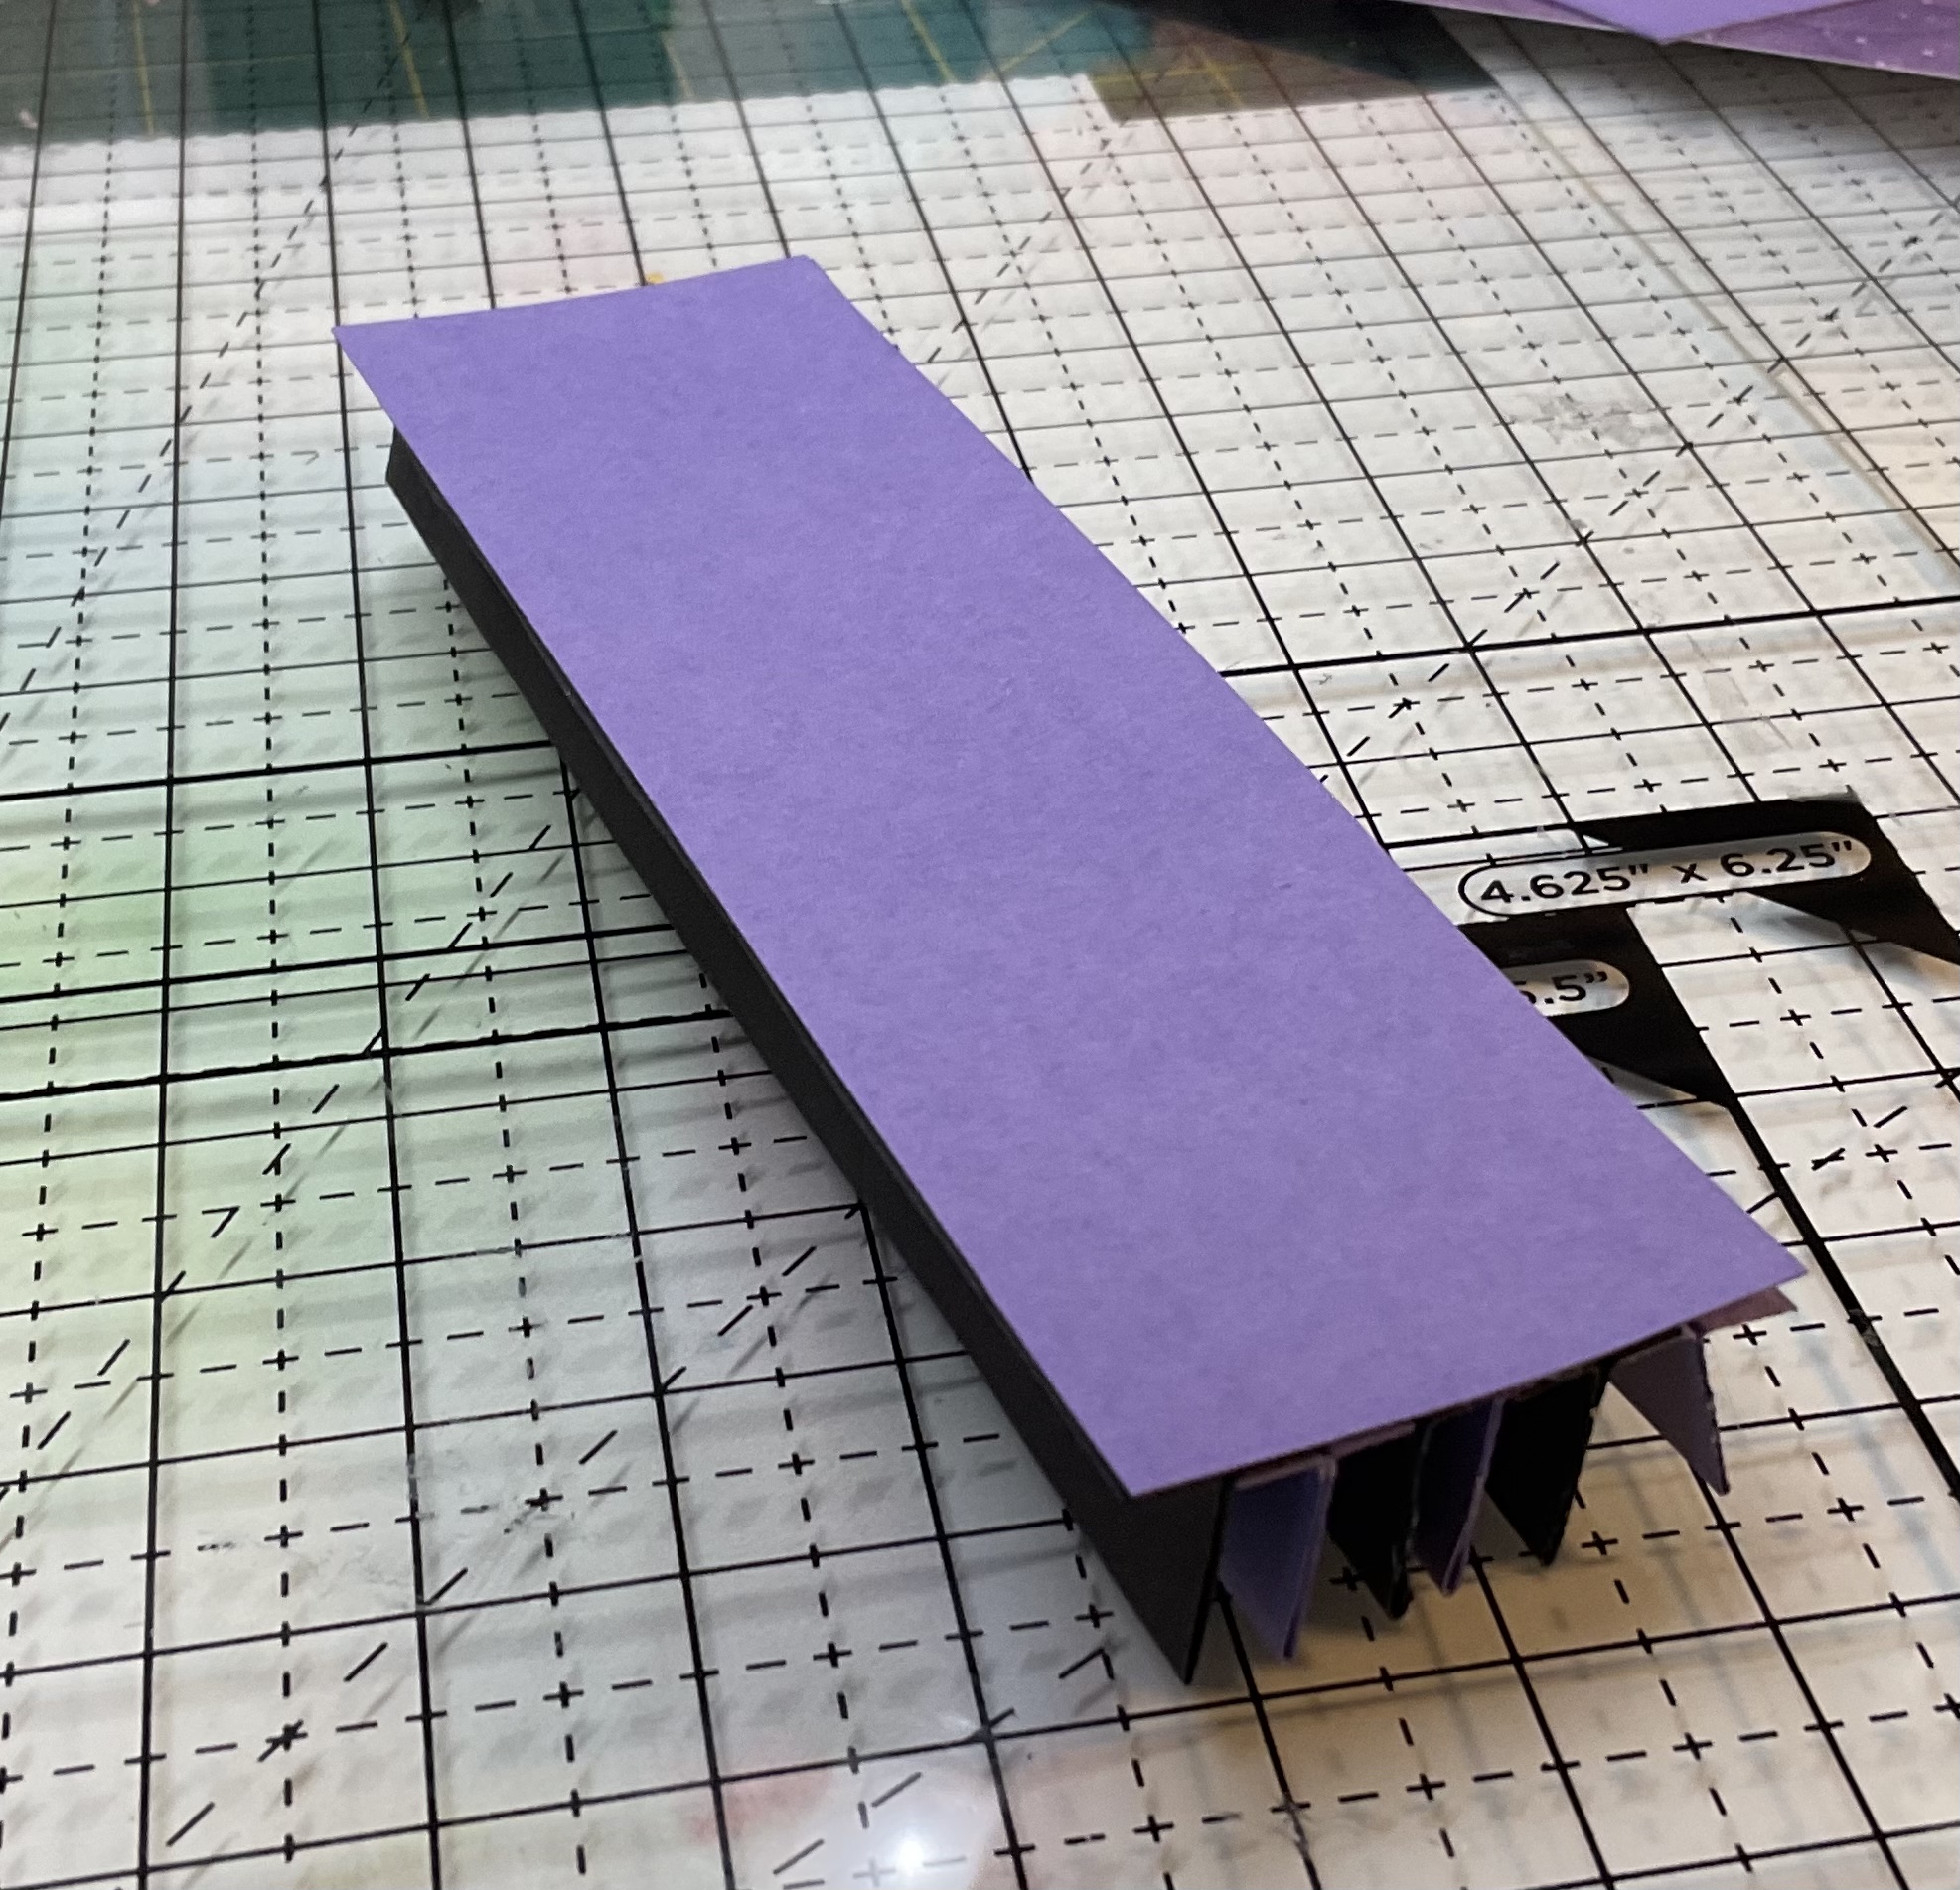
4. You now have six trimmed pieces…glue them together the same as if they hadn’t been cut down…(nestle them up together overlapping the cut tab ends, with the folded x glued piece sticking up.) 


You now have one spine piece...I used art glitter brand glue, as it dries super quick and is very strong..


5.   I cut and added an extra end piece for strength…it may not be necessary, but I thought I’d like to be sure it was strong. (Trim it to fit the piece as needed.)


6. Use the template to make the spine cover..I cut mine exactly…


7. I used the edge die to cut both ends…lightly inked the edges (optional) and glued the spine in…perfect fit.


8. For the pages and cover, I cut 16 pieces 5 x 5. 

  I did 8 squares for three black pages and the 2 inside pieces of each cover, 6 purple for 3 purple pages, and two print squares for the outside of the covers.I’m going to double up the pages as well as the cover, for strength, you don’t have to… I also just cut the pieces rather than use the die it’s just a square that’s 5 x 5. 

 I did use the edge die to cut all my edges.  I glued the two pages together, with one bead line, near the top edge to cut the two corresponding pieces out together to make sure they were exactly even… like so…

I only glued the top, as I need the bottom to be open so I can glue it down on both sides of the spine tab.
9. Glue the rest of the page together with a line of glue on both sides of the bottom, so it will fit down on top of a spine tab...burnish tight.


10. Do the other five pages exactly the same..
Then do two cover sheets completely glued together and attach to the spine cover. 


All ready to decorate.

Thursday, March 31, 2022

Standing Panel Fold Card…Easter Version.

 Standing Panel Card

Lots of folding panels makes this super simple card look elegant. Decorate with anything.

Frogs and bunny’s make it fun… fits in a 5 x 7 (A7) envelope.

Cricut link https://design.cricut.com/landing/project-detail/62395377b8156f131bce7432

Hand cut measurements and template at bottom.


Instructions probably not really needed. You will be cutting two back panels as the full width is over 12 inches…the main center panel just gets glued on top the other. This also adds strength to help it stand.

Just fold the score lines in and out, starting with the fold closest to the center folded in..then..out/in to the end.  Then glue the two panels together… 

Add the mat panels…

Glue the sentiment tab, anywhere near the bottom…you can make it smaller or wider, or shape it to be an object…don’t make it super big, or too high, it can unbalance the card.


Hand cutting

Since there are so many folds, it’s a wide card, so it’s made in two panels, whch also makes it stronger for standing.

Smallest side edge is three inches high..measure that out then use a ruler from the top edge of the card to the three inch edge to get your cutting angle.

Cut two then just glue one center panel on top the other, it’s easier to center if you glue it after you score the lines.

The greeting tab is about 4 and 1/4 by 1 and 1/2 (4.25 x 1.5) it can be adjusted though, to fit your saying…just don’t make it over 5 inches wide or it won’t fit in the envelope.

The easiest way to hand cut the panels is just to make another 2 of the main panels then cut them down to fit… 
But here’s a template if you want to use it.

It’s a png file so if you save it to files it should be useable as a true template…the guide is marked saying that the narrow panels are one inch wide, which works, but the template is slightly less, more like 9/10 of an inch…either, is fine to use.


Bunny Easel Card


Easel card for Easter…cricut…or a hand cut base.

   Super easy…

Cricut link.  (Hand cut dimensions at the bottom)

https://design.cricut.com/landing/project-detail/6240b8ebf2412b0b982eee66


With or without a back panel.


This card really doesn’t need instructions, but here are a few tips… 

The butterfly, which can be replaced by anything to prop the card up, works best if it’s three layers thick.

The back panel is optional, and it can be any size up to 5 x 7.  As the card fits in a 5 x 7 envelope… you could make it a 5 x 5 card and make an envelope, but it’s cheaper to mail a 5 x 7 as they charge extra for square mail.

If you want the fold to go toward the other side, just mirror the card before cutting.

I made the top layer of grass a bit longer than the card so, when I glued just the side edges down, it curls slightly away from the card…you can trim it down if you don't want to do that.

The ear insets are optional..I used them on the bottom bunny, but I liked the rainbow color to show on the top bunny, so left them off.

If you have any questions please ask, and if you’d like your card to show up on the blog, send a photo and I’ll post it…happy crafting…

Hand cut…
The card is just a rectangle 5 x 10.  Score down the exact middle.  Then score diagonally across the top half… the direction you make the score will determine which way the panel on the card faces…                        

The extra top panel can be any size or shape, up to 5 x 7.  The card stop can also be anything. Make it two or three layers thick to work effectively.


Wednesday, March 30, 2022

Tower Flip Card

 Tower Flip Card   


There is a cricut link for an Easter chick card, (shown here) a Spring Card (shown below), and a template for hand cut and fold of the basic card, ( the hand cut measurements are at the end) The Circut card base is just shapes so would be free to cut on cricut, if you delete the access images that are there to decorate .

Chick link… https://design.cricut.com/landing/project-detail/623bfb73264cae60d738ddca


Spring Card  https://design.cricut.com/landing/project-detail/623756a8623e8be0bfbb5cce


Basic instructions are for the chick card, but the tower goes to get her the same regardless.


Instructions


Dimensions for cutting your own templates.
These panels below, can be made smaller to let more of the background paper show, or you can even die-cut a fancy edge or deckle the edges…if you have two sided printed paper you love, you might even skip the panels…they do add a bit of strength to help it stand though…


Inside Stepper Card

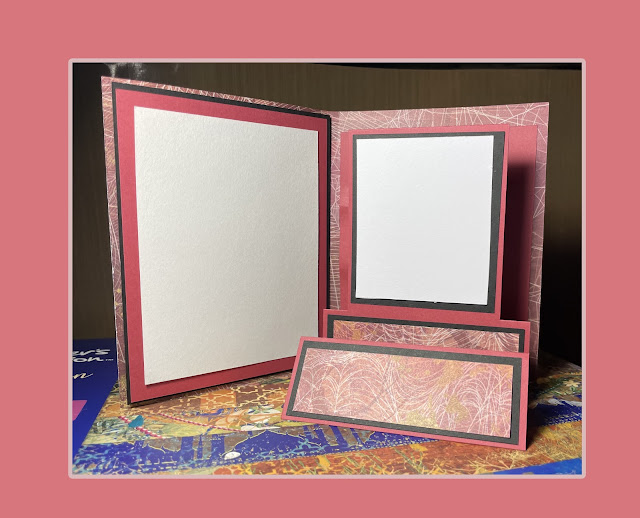
 Inside Stepper Card.  This is a Cricut file (and Almost Crafters Companion template Violet 23). I couldn’t get the CC template to stand up ...