Super Fun and Easy.
Snowflake Aperture Card with Dangles
Note…you can use the base and dangle anything for any occasion. You’ll need
1. White card stock…1 piece of 110
2. 1 piece of white card stock 65-80.
3. 1 piece of a blue or patterned card.
4. Paper glue or red line tape,
5. sewing thread.
6. Stickels Glitter glue, blue ink and applicator.
Cricut file here, but the template sizes are included at the bottom.
1. Cut all the pieces…on the cricut design page, I have made the front piece gray rather than the white I cut it out of, as I have found the front piece works best from heavier 110 office card stock, (the two colors remind you to use the different card stock.…) while the snowflakes cut much better from a medium weight 65-80. So cut them both from white but use different weights of card for best result.
I also cut the blue inside panel from a winter pattern card stock.
2. Check all the snowflakes to make sure they are completely weeded, getting tiny pieces out after it’s glued onto the card won’t be fun… set the three dangle snowflakes off to the side, use the same I set to the side on the screen or pick your own, you’ll need two each of the same in large, medium, and small.
3. Take five of the others and arrange along the top. When you like the arrangement glue them in place. Repeat along the bottom…
With the ink and applicator ink the snowflakes and card to your liking.
Cut two doubled pieces of thread a bit longer than the card. Center the large snowflake in the center of one of the double thread pieces and glue it on.
Then glue the matching snowflake on top.
Place it about where you think you want it, and place the other two snowflakes beside it then glue them on the string.
Center the flakes where you want them, then use a ruler to mark the exact spot at the top and bottom where you’ll glue the string…it needs to be the same measurement for them to hang even..
Glue the strings down on the back and glue the small panels on top. Trim the string.
Fold the top card piece at the score lines. Glue the folds under the back piece…make sure the printed area is face up, and that the bottom is totally even so it will stand.
Glitter as desired.
That’s it…
You can use the base to create all kinds of dangle things…here are a few ready for ghosts and flowers…
Even change the shape of the aperture.
To hand cut card to use with die cuts or stickers.
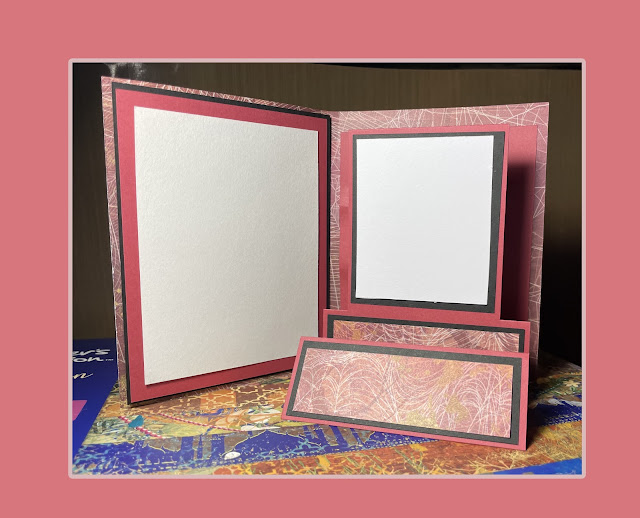
Card bottom is 5” x 7”.
Card top is 7” x 6.75” (6 3/4”) put score lines on each side 1/2 inch in.
Make two strips 5” x 1/2”.
Cut aperture any size or shape desired.
But this is the shape of this one.


 Glue the strings down on the back and glue the small panels on top. Trim the string.