Print and cut out.
Pieces can be Hand cut or upload to a cutting machine (except the 12 x 12 outer layer)
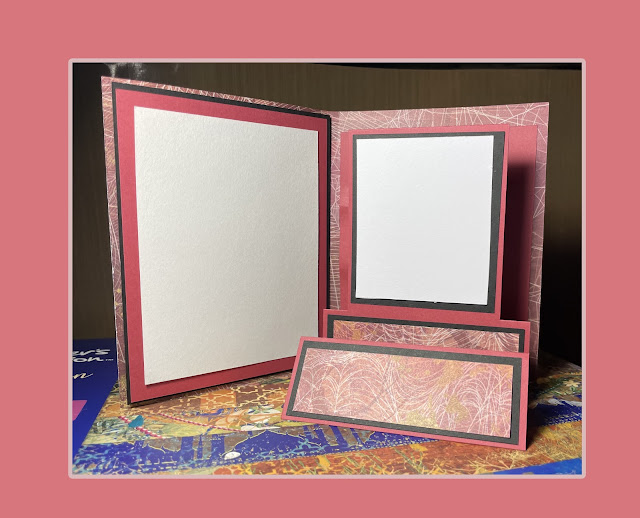
It’s …three layers.
First layer.. pumpkin pockets…and pull out tags.

Second layer…trick or treat bag, vampire, potion, tomb and ghost.


Inside layer…witches legs and hat box.

How to make it.
To make the outside layer, (use double sided cardstock here, the outside of the cardstock used, will be the outside of the whole box). Score and fold a piece of 12 by 12 card stock into 3 equal sections (score 2 rows each way, 4 inches apart ) in both directions…
Cut out the 4 corner pieces.

Pockets and tags.

Starting with the pumpkin pockets…
If you do not have a cutting machine to cut out both the pocket and the Jack face from card stock..there are many things you can do instead.
Layer the face on top and combine, then print and cut by hand…
…or just cut out the pockets and draw your own faces…
…you could even cut the pockets from printed card stock…
… or stamp images on them..
Pocket
Pocket is 3 3/4 (3.75) by 2 1/4 (2.25) with 1/4 inch square cut out from each bottom side.
If the pocket is off a little it’s okay, as long as it fits on the flap.
Fold and glue the pockets to the 4 flaps of the large outside piece…make sure all pockets open toward the top of the flap…put them a little less than half way up. (1/4 to 1/2 from the bottom fold).

Faces for pocket.


Like so…
Now print out the four tags, or make your own to fit in the pockets…if you make your own tags they need to be slightly less than 3” square.
These are Png files…


Cut a ribbon or piece of yarn 5-6 inches long and knot in hole.


Put tags in pockets.
More suggestions for tags…any shape that will fit in pocket…decorate with stickers, cutouts, photos, stamped images, hand drawn images.

Middle layer

Or, if you wish to upload and cut with a cutting machine, use this, but make sure you double check the size…

Now, let’s build the hidden surprises for this layer.
You will make four different pieces…you will need pop dots or foam pieces to give dimension.
Tombstone and ghost…three pieces..the tomb front, tomb back, ghost.
These are also png files, so they can easily be saved, printed, and cut out, either by hand or upload to a cutting machine.
These were carefully sized before they were saved, but that doesn’t always mean they come across correctly, so double check your sizes before you print or cut.
The square they go on is 3 3/4” so it should be slighter smaller.


Then glue the tombstone to any flap. Make sure the top of the tombstone is at the top of the flap.


Coffin and vampire.
Print and cut the three pieces. Coffin top, coffin bottom, vampire.

Fold flat on top coffin and glue to the bottom piece. Make sure both printed pieces are face up. Using pop dots on the vampire place him in the coffin, and glue coffin to the card…again, make sure the head is at the top of the flap..

Continue in the same manner with the potion bottle and frog.


Last flap is for treat bag and candy. I have included an optional, extra cutout of candy for even more dimension…
Treat bag front, bag back, candy, and candy extra pieces. Png files.

Fold bottom flat on front of bag and glue like the other pieces. Both pieces face up. Put the candy in with pop dots and add the extra candy with more dots, randomly if desired.

Make sure it’s glued on to the flat with the top of the bag facing the top of the flap.


Use this if you wish to upload, for a cutting machine…check size it should be a total of 5.5.


Glue the shoes, lined up almost to the bottom of all the inside flaps,
The flip it over and glue the mirrored shoe to its matching pair.

Start attaching from the top, it’s best to line up the legs. The shoes won’t matter.


HAT
The top cone of the hat was designed to cut out as separate pieces on a cutting machine. I have also layered and flattened them and added a png file so you can print and cut it all at once ..
Top of the hat.


Base of the hat.

Starting with the base. Fold the tab of the arc piece and glue into a cone shape.take two of the long angled flaps on one side snd bring them in to over lap..


Run a bead of glue all along the wide edge of the cone and attach to the center of the circle.


Glue this piece to the center of the leg piece.

To make the top of the hat…if you are just doing the one piece, just fold the tab and glue into a cone.
If you have pieces…start by gluing the two cone pieces.


Put a few random dots of glue on the inside of the black cone and press it down on top the yellow. It will have about a 1/8 unmatched at the bottom…don’t trim…it will be covered by the band.


Glue on the buckle.

It will now sit on top the base. You can fit a piece of candy or tiny gift inside, like mini Hersey bars or spider rings.


Lid for the box.
I’m going to add directions on scoring and folding the lid…if you want a video for how to fold it it’s here. https://youtu.be/rjyC2PimPtE
(Instructions for doing this lid on a cricut are at the end of the folding instructions).
This is made from one full single piece of card stock…it’s scored and folded on an angle. It looks harder than it really is…however the measurements will be a lot easier if you have at least a three inch wide quilting ruler.

Start by lightly drawing straight diagonal lines corner to corner on what’s going to be the inside of the box (they won’t show when folded). They also won’t be scored or cut, so press lightly…

The next lines are to be scored. They are in turquoise ink. The first two score lines are made exactly 2 1/8 from the drawn lines….score 4 of these lines, one on each side of the two drawn lines.
That will give you a 4 1/4 inch square in the exact center.

Now, score more fold lines, these will be exactly two inches from the last four score lines, then do it again. Four more lines, exactly two inches out from the new lines…it will be a grid like this. (Pink lines)

If I were to erase the pencil lines (which isn’t needed, I just thought it might be easier to see) just the score lines, would look like this.


Now, fold all the score lines in and out. Should look like this (note this is the back of the paper which will be inside the lid and doesn’t show.

Now, to fold. Take two of the flaps on one side and bring them together overlapping.


You will take the piece left sticking out and bring it up and over the flaps and press it down into the lid.


Do the same to the opposite side.

Now the last two flaps..lid the wings in and fold the flap up and over just like before…


Do the last flap the same.

If you want, you can glue the flaps down, or add a panel inside to cover the triangles.


If you wish getting a bit of help with the lines you can upload this grid. You set it to be exactly 12 x 12. Open a square shape from the shape menu, exactly 11.5 x 11.5, center it in the grid and slice it. Get rid of the outside edges…change the grid to draw…then it will draw double lines that you can score inside of. Make sure you use a 12 x 12 piece of card stock and that it is lined up exactly on the zero lines of the mat..

Looks like this drawn. Just continue the score lines out to the edges.
Again to do this easily is here… https://youtu.be/rjyC2PimPtE