This is a CRICUT PRINT AND CUT ONLY accordion card....there is a Halloween one that can be adapted that is cut only...link to halloween card at the bottom.
Cricut link for this one... https://design.cricut.com/landing/project-detail/5f919f288e3eae0c082278ca
Supplies (I used)
7 pieces 110 white card stock, 8.5x11
Printer and Cricut, score tool or wheel
Scissors
Thin Pop Dots
Glue (I use Art Glitter band glue)
Bone folder
Craft knife
Stickles holographic
Directions
The cut out pieces are set up to include the 3D pieces to do the Paper Toile...if you just want the card without the few fussy cut pieces, delete all the extra pieces in the middle except one Santa (and maybe two gifts.)
When preparing to print you might want to use the print dialog box and set your print to best...otherwise it may print lines on it...
You can continue to print once the first piece has started cutting..
Two panels may look identical, you do need them both...
Once all your pieces are cut out, double check all the white pieces are pulled away...use the craft knife, if needed, to remove any.
Then, fold your two accordion sides pieces on all the score lines in a fan fold..it doesn’t matter which direction you start with, you can flip it... Burnish your lines down.
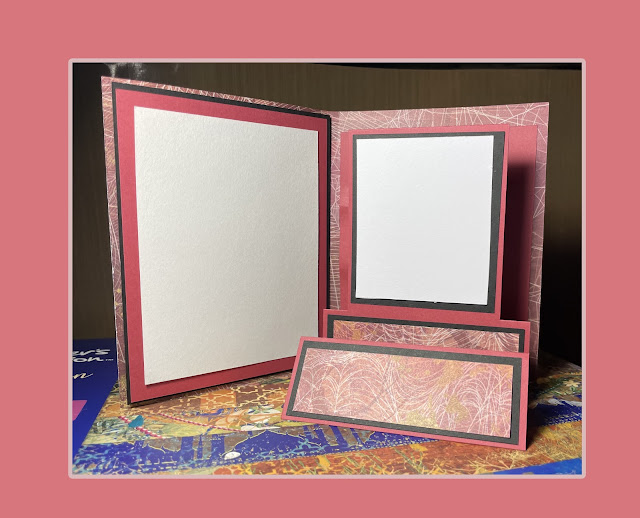
 Attach back panel. Put glue on the flat, white edge on one piece of the side..lay the back on the edge leaving about 1/8 of the inside edge free..(this allows it to fold flatter).
Then attach the other side, lining up the top and bottom, but still leaving about an 1/8 open on the side Panel. Next panel is the sandman...take one of the two loose snowmen And fussy-cut out the lei, nose, and hat.
Add pop dots to the full sandman, and attach on top the panel sandman, then add little slivers off the pop dot edges and put them in place.
Put this panel in, By attaching the left side of the panel into the next fold, only this time, leave @ 1/4 Inch of the inside of the flap edge open...then add glue to the other side... slip the panel in and close it flat to get it correctly in place, making sure the top also stays even...it’s a bit tricky, but just take your time...
Tree panel is next. Lay out the pieces...cut the trunk away from one piece and cut away the back gift...cut the center two branches and coconuts away from the second piece and cut out the gifts as shown..
Using the pop dots attach the pieces.
Attach this panel exactly the same way you did the sandman panel.
Top panel...fussy-cut one flamingo and the two Santa’s not on the surfboard as shown...
Using the pop dots layer the pieces. When adding the full Santa on the skateboard piece, keep in mind much of the Santa is off the card, and won’t need pop dots on those areas. Like seen here.
Continue to build up the pieces of the Santa, flamingo, and heading....Add the extra gifts anywhere you’d like them.
Add the top panel to the card lining up the sides, top and bottom, but push it flat too, as the glue sets, to insure it will lay down. Add glitter to coconuts and all the fur, and add dots to the tree in the heading...😎
All done..
Halloween card link
https://design.cricut.com/landing/project-detail/5d4ddd9bcfb1a20604761877


 Attach back panel. Put glue on the flat, white edge on one piece of the side..lay the back on the edge leaving about 1/8 of the inside edge free..(this allows it to fold flatter).


