I wasn’t happy with the way the mini book came out following the instructions…so I messed around and came up with this…here’s my version…it’s exactly the same size as the orig

Here’s how the normal version looks…

How I did it…
1. Cut six tabs using the die cut as normal…
I did three purple and three black, hoping it would be easier to see…in hindsight, the black wasn’t a good choice..

2. Fold all the score lines to make the tabs, Glue the pieces together where the X’s are as normal..

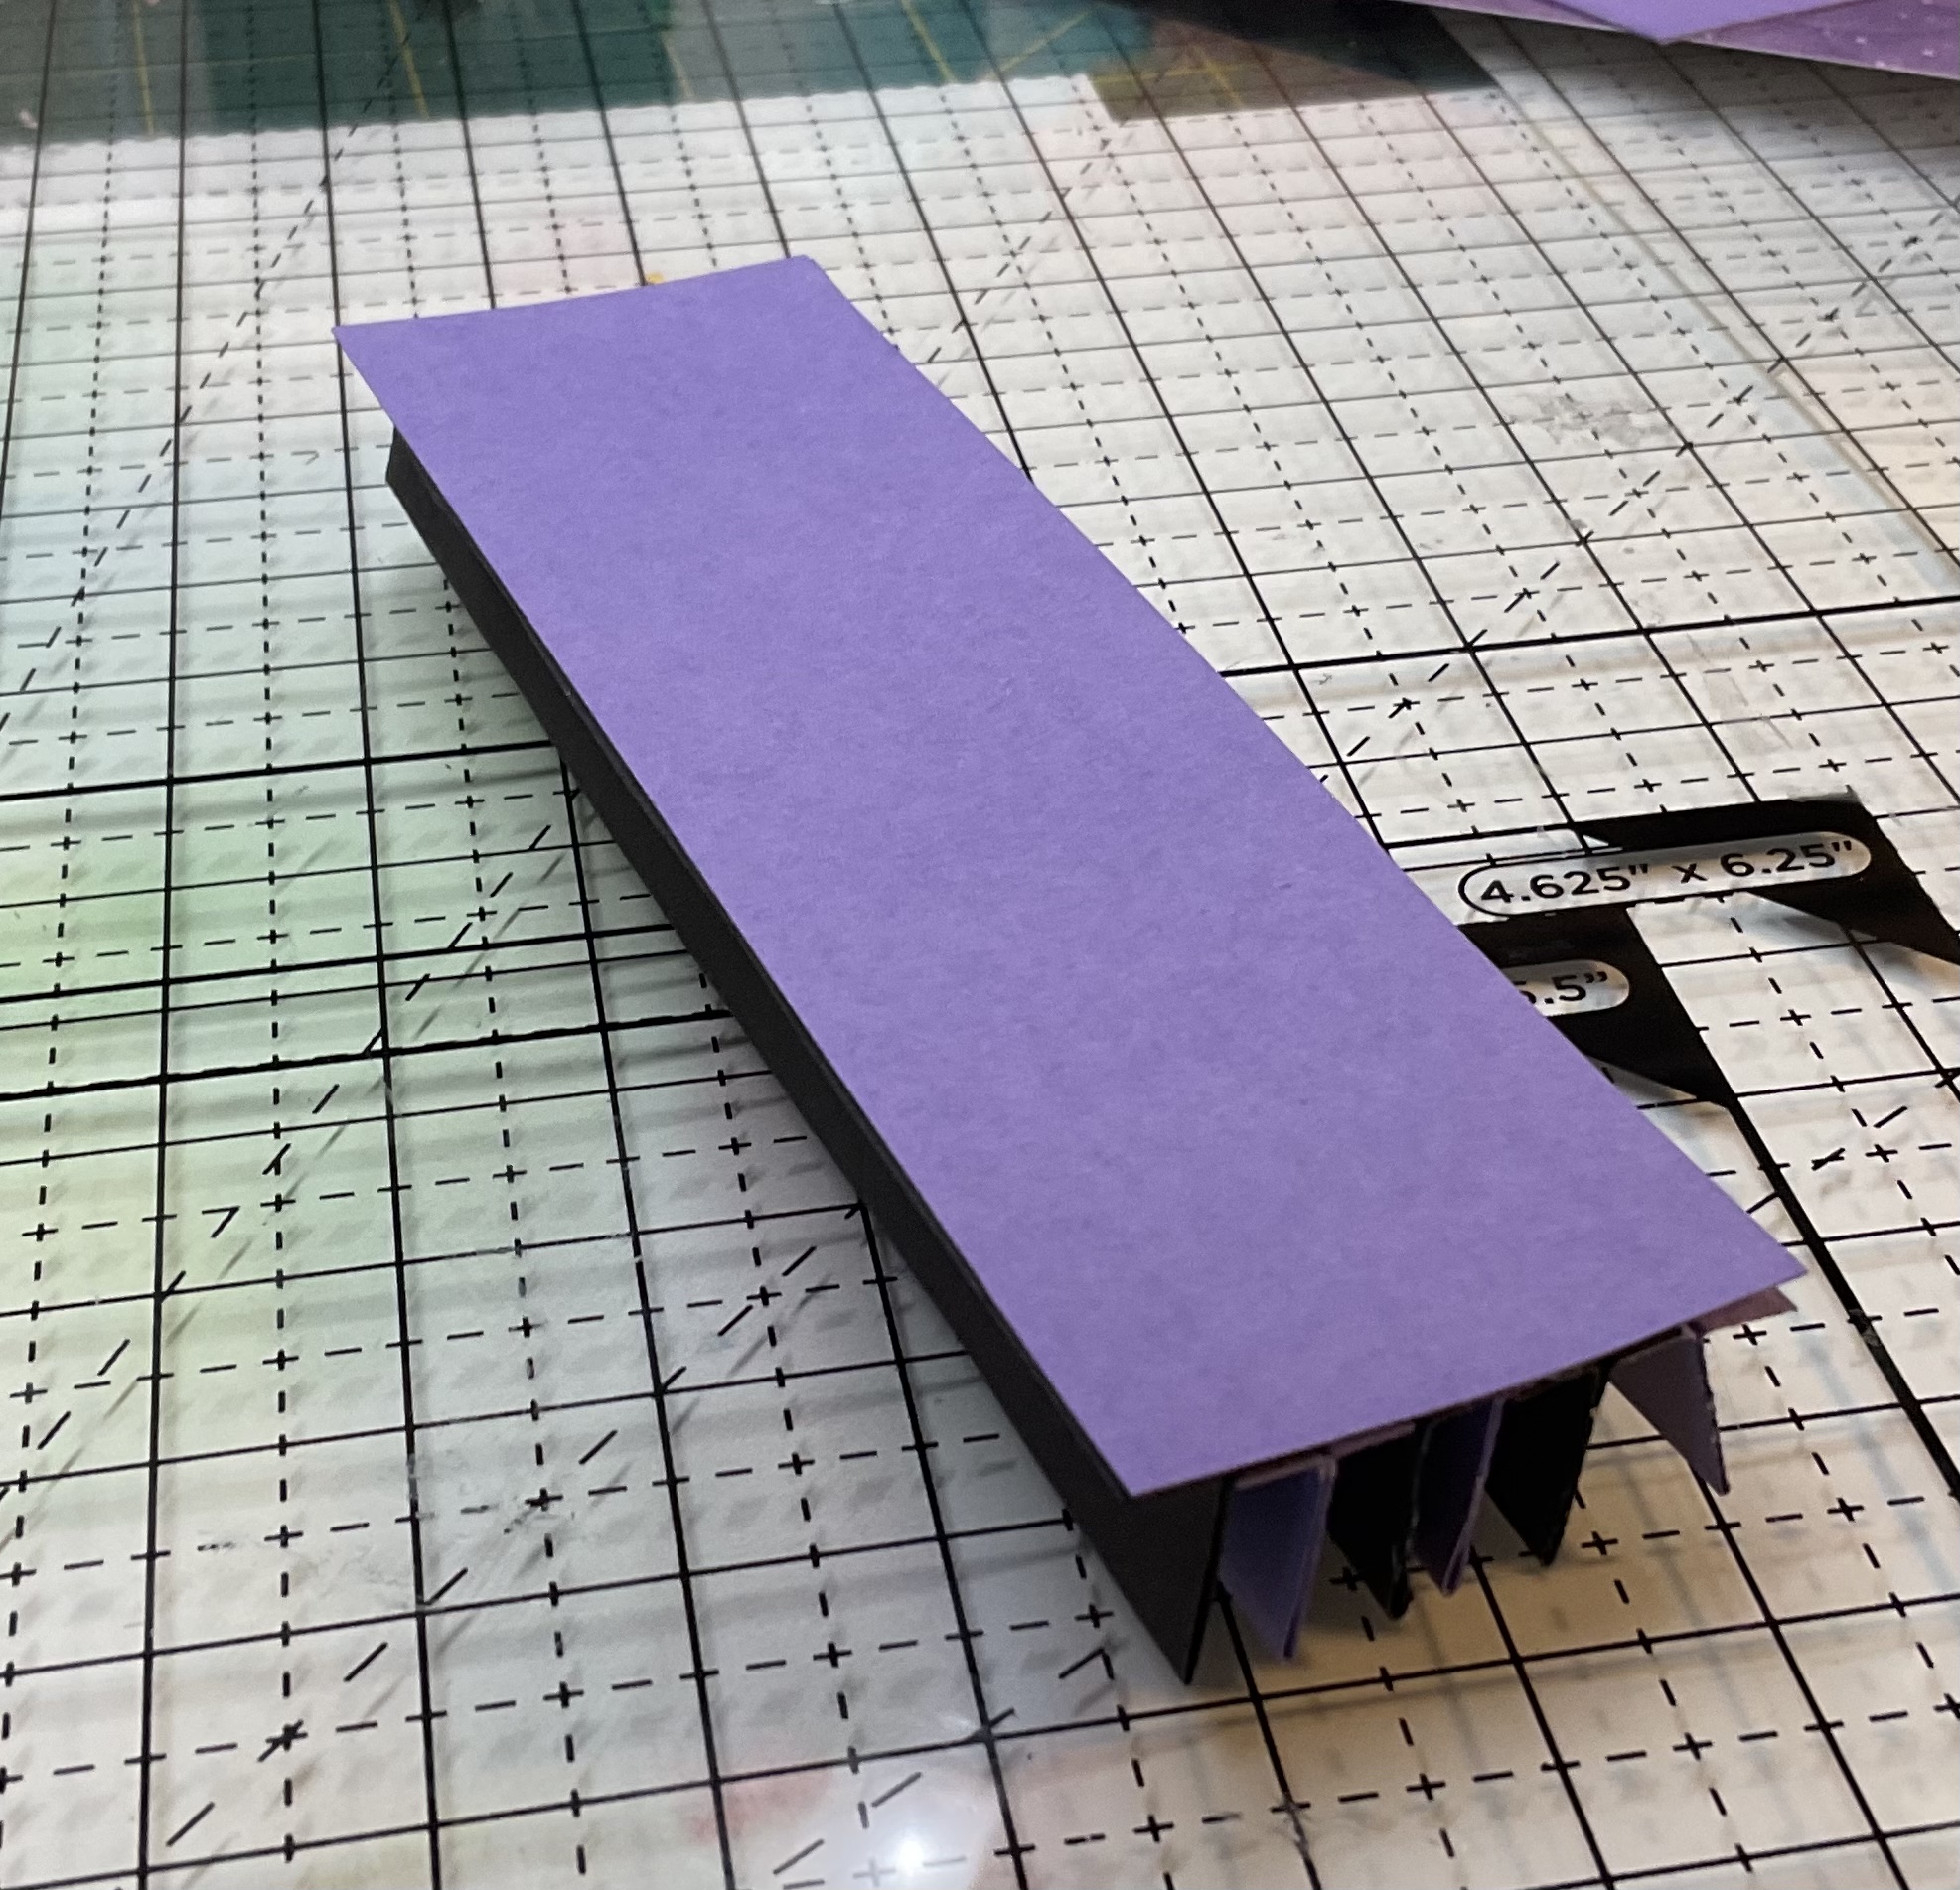
3. Cut both sides of the tabs (glue area, not folded piece) in half…I drew a line on one to show where, but I didn’t bother to measure any of the others. I just eyeballed it and cut by hand..

4. You now have six trimmed pieces…glue them together the same as if they hadn’t been cut down…(nestle them up together overlapping the cut tab ends, with the folded x glued piece sticking up.)

You now have one spine piece...I used art glitter brand glue, as it dries super quick and is very strong..

5. I cut and added an extra end piece for strength…it may not be necessary, but I thought I’d like to be sure it was strong. (Trim it to fit the piece as needed.)

6. Use the template to make the spine cover..I cut mine exactly…

7. I used the edge die to cut both ends…lightly inked the edges (optional) and glued the spine in…perfect fit.


8. For the pages and cover, I cut 16 pieces 5 x 5.
I did 8 squares for three black pages and the 2 inside pieces of each cover, 6 purple for 3 purple pages, and two print squares for the outside of the covers.I’m going to double up the pages as well as the cover, for strength, you don’t have to… I also just cut the pieces rather than use the die it’s just a square that’s 5 x 5.
I did use the edge die to cut all my edges. I glued the two pages together, with one bead line, near the top edge to cut the two corresponding pieces out together to make sure they were exactly even… like so…

I only glued the top, as I need the bottom to be open so I can glue it down on both sides of the spine tab.
 9. Glue the rest of the page together with a line of glue on both sides of the bottom, so it will fit down on top of a spine tab...burnish tight.


10. Do the other five pages exactly the same..Then do two cover sheets completely glued together and attach to the spine cover.


 All ready to decorate.


 All ready to decorate.
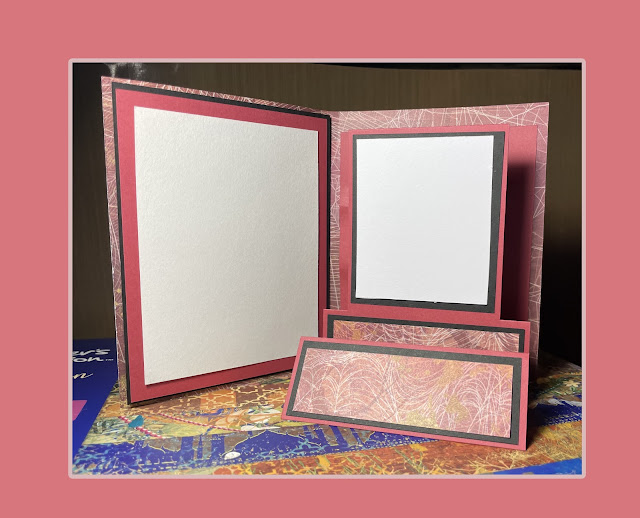


No comments:
Post a Comment