Tag Slider Card


Link to Cricut project.
https://design.cricut.com/landing/project-detail/5f8f1adf7a14770d3c05d026
The project is ready to cut, but a few things...the tag is pink on the mat, but it’s to be cut from printed card stock, or a color of your choice..doubled sided is nice as the inside shows a little.
I have a maker so I cut with the intricate card stock setting. You will need a
Premium fine point blade and a scoring tool or wheel.
A few pieces of thin ribbon or yarn 12 x 12 sheet of card stock (doubled sided print recommended)
Smaller pieces of cardstock in red, green, white, black, light and dark brown, Dark blue, and (gold for image two And a gold glitter or gel pen for image one). (Naturally you can substitute any color you want for any of these)
Good paper glue (I use Art Glitter brand glue)
5 x 7 envelope
Score and Cut out your pieces. You can cut the holly, or if you prefer, draw the holly with a pen...delete or hide the one you don’t want.
Same for the glitter piece or the Beary Christmas, you only need one or the other.... Once all the pieces are cut...
Put the card together. Fold in half and on all the score lines..the door will look like a mountain with the little flap at the bottom flat..

Now put a full line of glue in the fold and just on the edges of the other side and bottom...no glue on the top.
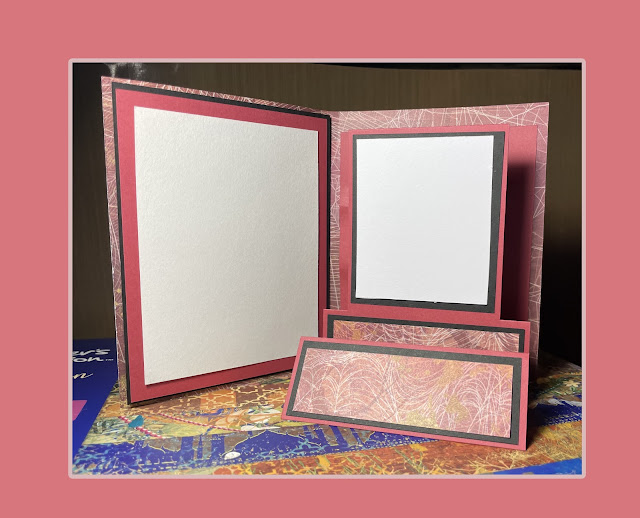
I made it look pink in the photo below don’t go any further in toward the center. Close the card a line the out side edges up exactly, burnish down.

Let it dry a few minutes, then slide the tag in through the top. It will stop right at the very top edge of the bottom of the card piece, where it’s in the pink square ...don’t try to tuck it up inside at the bottom...it should set flush.

Now to glue them together...run a bead of glue on the folded up piece of the window flap of the card..like
Below where you see the pink...push it down flat on to the Bottom of the tag...press and hold till dry..

Once dry, you can pull up on the tag and the bottom of the window will pull up.
Now put your bear pieces together..
And once made, put glue on just the bottom half of the back.
Glue that bottom half just to the bottom half of the flap, line it up with the top fold piece at the bottom.

Glue the two extra candy canes and the extra holly at the top of the tag..add the ribbon pull...don’t get carried away With lots, or thick ribbon, or It won’t fit in the envelope.
Glue the gold flourish or the words inside the card as a stop for the flap. (The red pattern on card one is just the back side of the double sided paper.)


All done...it will fit in a 5 x 7 envelope.
If you have questions fell free to email me at lldsmith2@comcast.net
I have a Facebook group https://www.facebook.com/groups/Cricutlovers/?ref=share
as well as several other blogs listed in my profile on the right...


No comments:
Post a Comment